-
GamesBrowse our database of 6 video games.
-
AlbumsBrowse our database of 1 albums.
-
TracksBrowse our database of 3 tracks and songs.
-
ContributorsBrowse our database of 37 musicians, bands, and other contributors.
Content
How to Use Surround Sound on Nintendo 64
3D graphics, 3D sound
Nintendo's leap into full 3D gaming was with the Nintendo 64 in 1996. But did you know it also supported 3D sound? Yes, even back in the 90's you could enjoy this extra level of immersion. That is, if you had all the right gear and set it up correctly. In this guide, we'll walk you through how to get surround sound working on your Nintendo 64.
Game Support
To truly experience surround sound, the game you’re playing needs to support it. There are 16 Nintendo 64 games that feature four-channel Dolby Surround (also known as Pro Logic). Most come from Nintendo, Rareware, or EA. The first title to support it was FIFA: Road to World Cup 98, released in 1997.
Nintendo would later announce that all upcoming Rare-developed games would support Pro Logic, and that they aimed to include surround sound "in all our games in the future."
Here is the full list:
- Banjo-Tooie
- Conker’s Bad Fur Day
- Donkey Kong 64
- FIFA: Road to World Cup 98
- Jet Force Gemini
- Ken Griffey Jr.’s Slugfest
- The Legend of Zelda: Majora’s Mask
- The Legend of Zelda: Ocarina of Time
- Mickey’s Speedway USA
- NHL 99
- Perfect Dark
- Pokemon Stadium 2
- Premier Manager Ninety Nine
- Resident Evil 2
- WCW Backstage Assault
- World Cup 98
What You'll Need
AV Receiver
Your Nintendo 64 and TV need a way to connect to external speakers. Thats where an audio/video receiver (AVR) comes in — it decodes the surround signal and sends it to your speakers. Think of it as the hub of your setup.
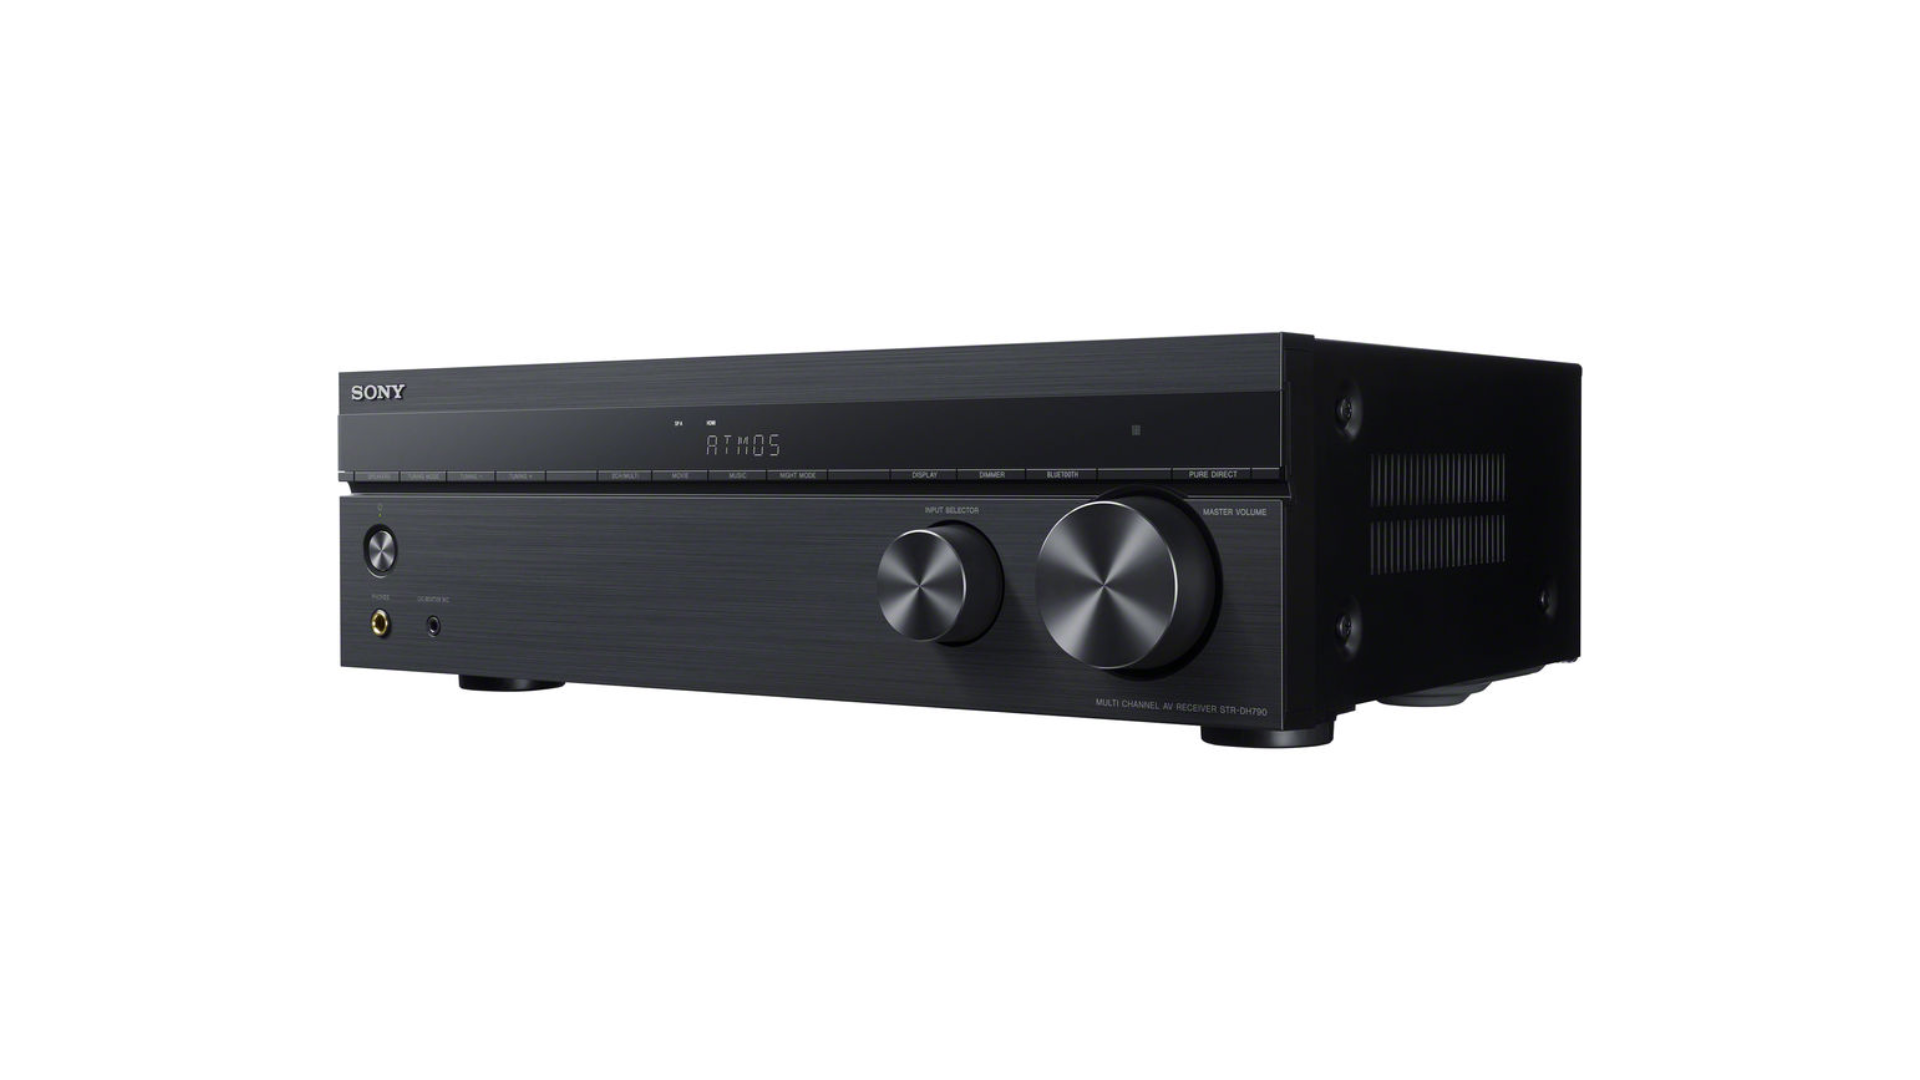
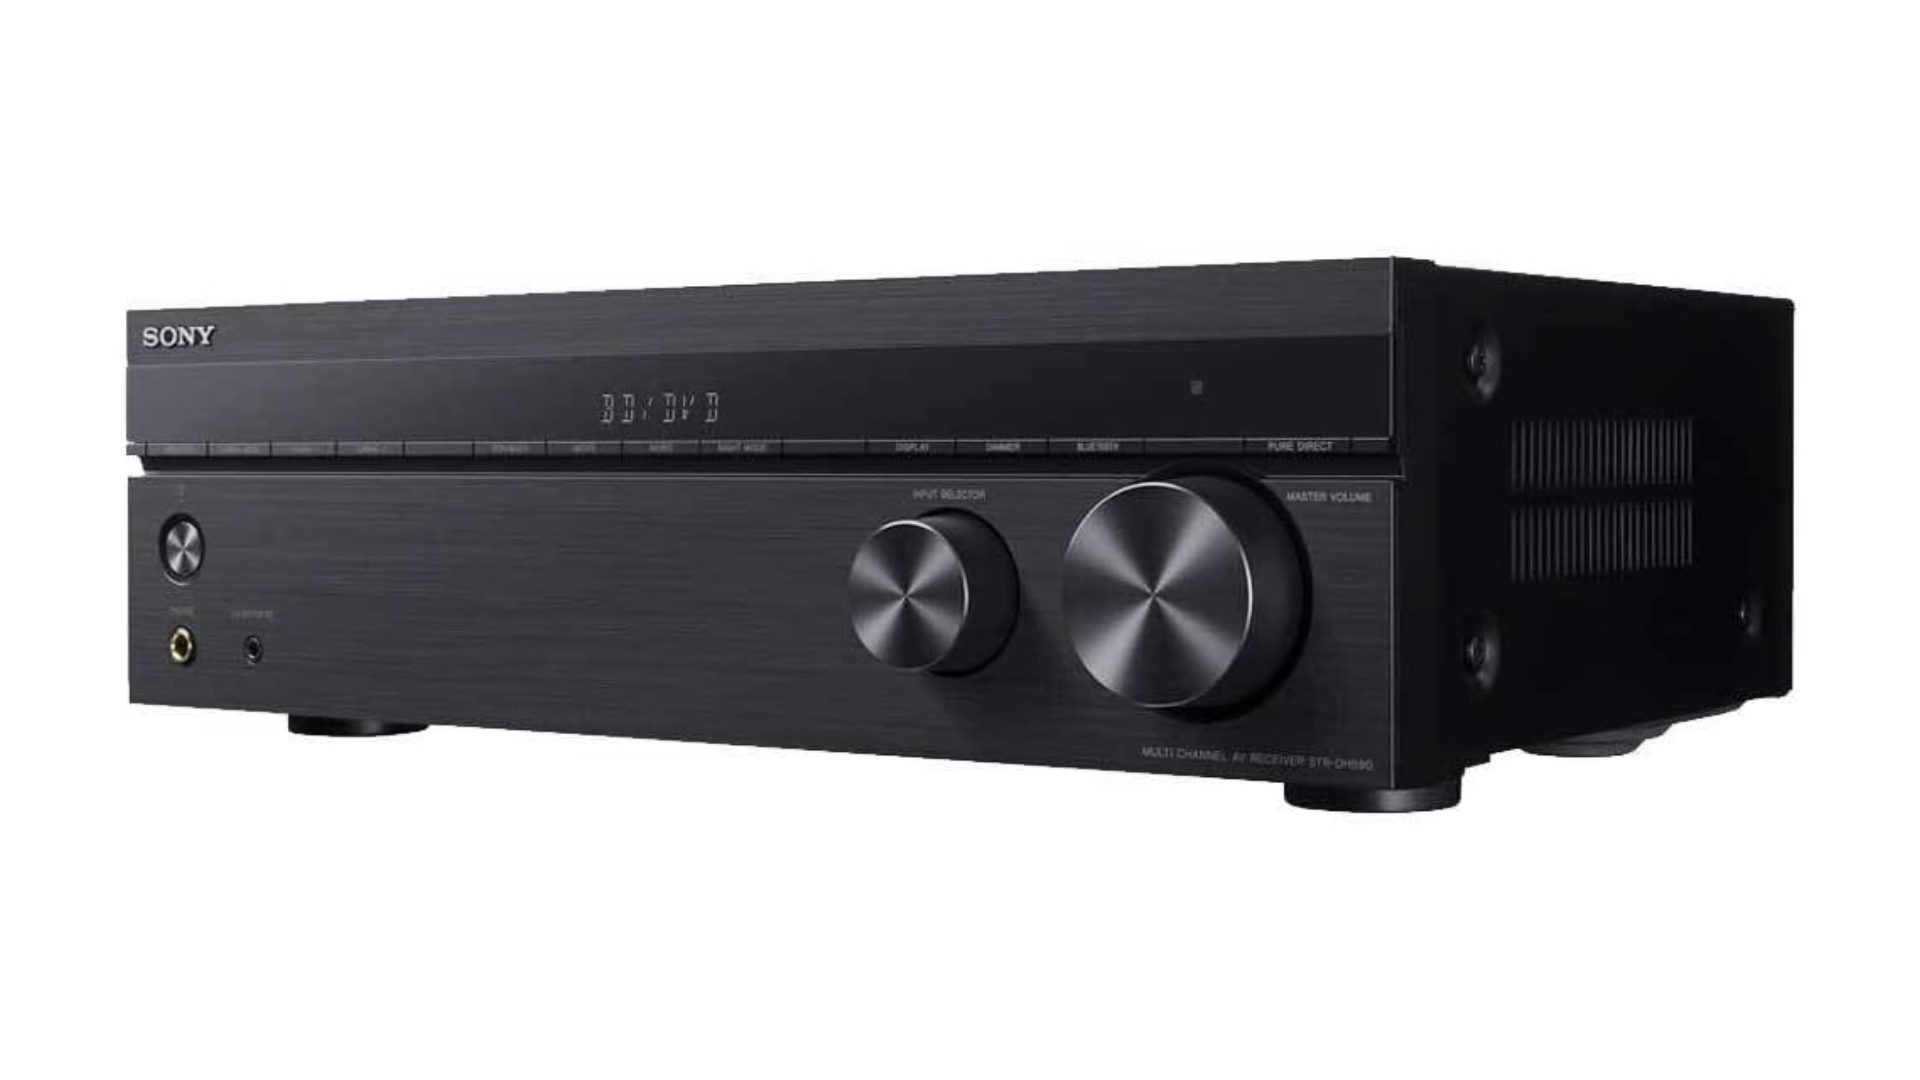
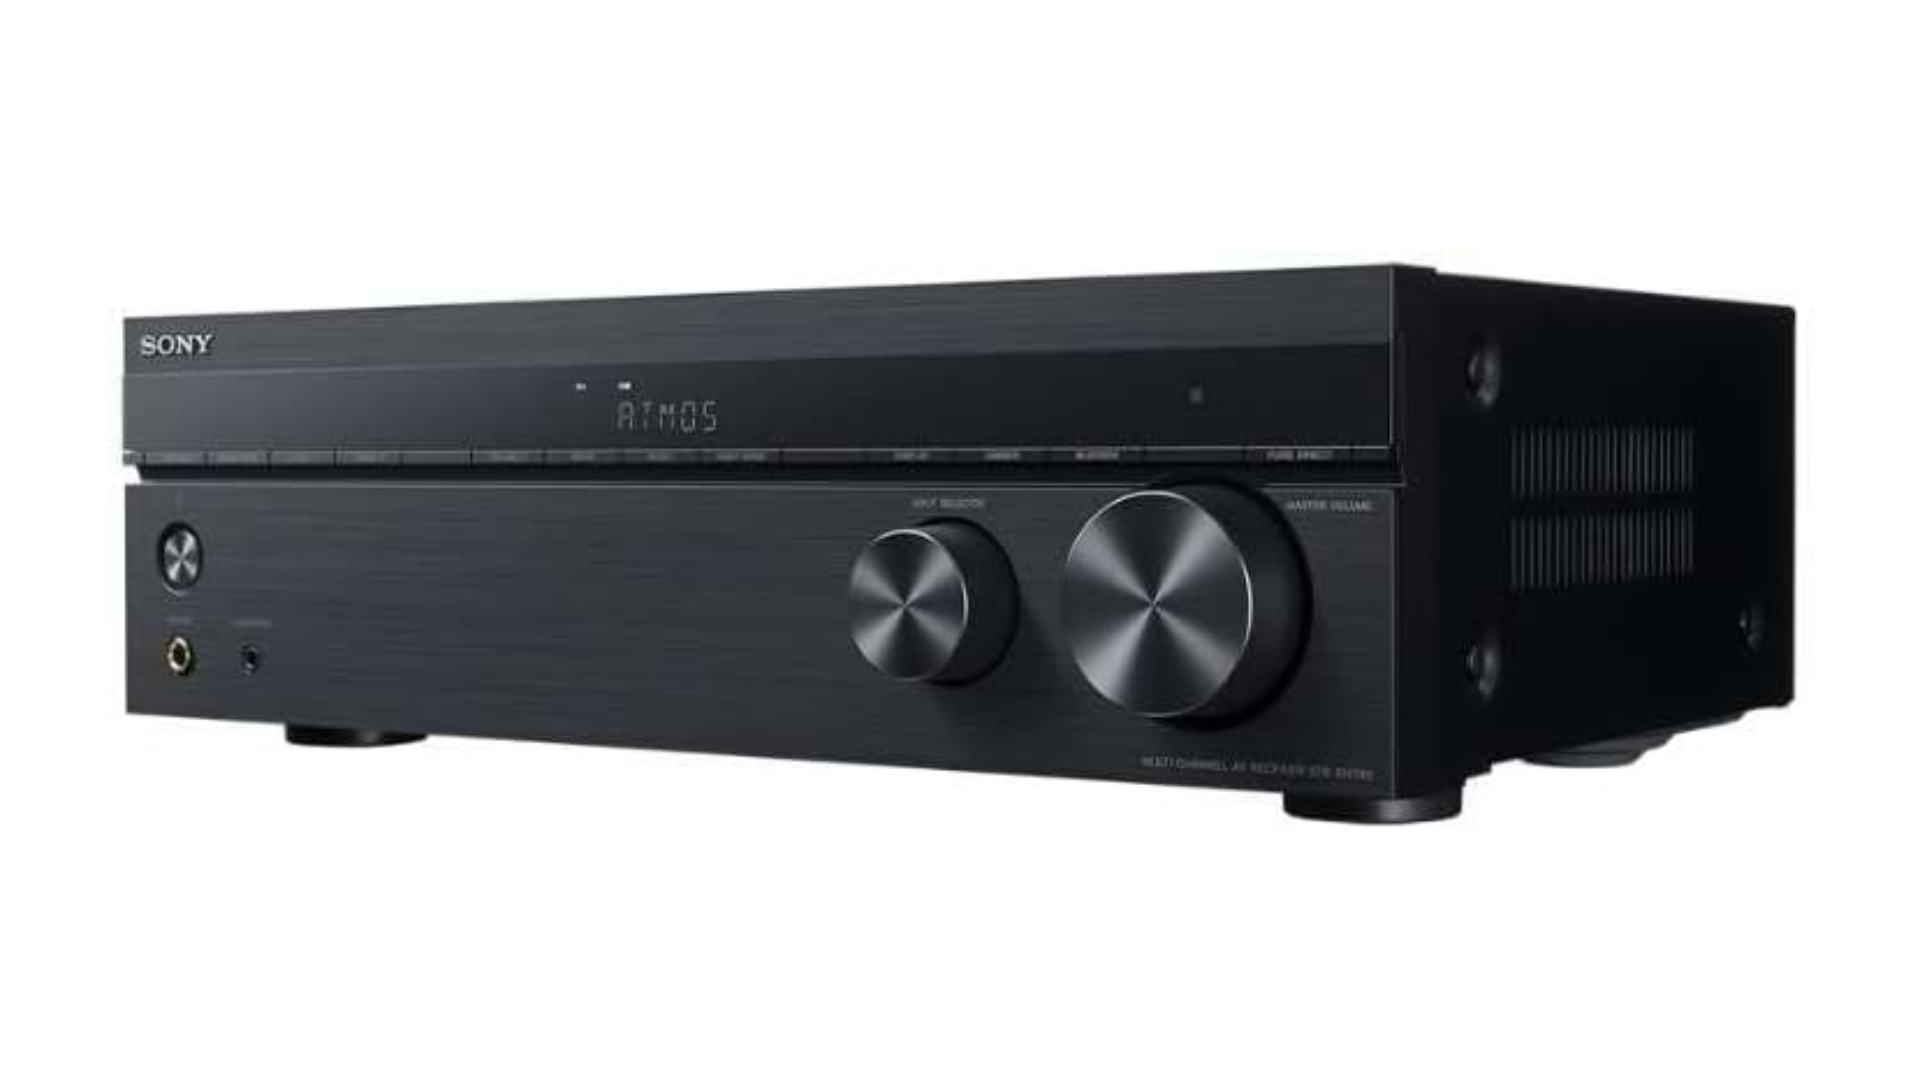
The Nintendo 64 only supports Dolby Surround, specifically Dolby Pro Logic. This is a 4.0 format, meaning it only has 4 channels: front-left, center, front-right, and a single rear. Despite the format being almost 40 years old, most modern AVRs still support Pro Logic, even if they’re built for 5.1 or 7.1 systems. If you don't already have a receiver, consider something like the Sony STRDH590 receiver (5.2) or Sony STR-DH790 (7.2). They will work great with the N64 as well as modern devices.
Speakers
If you don't already have speakers, here's what you will want to get:
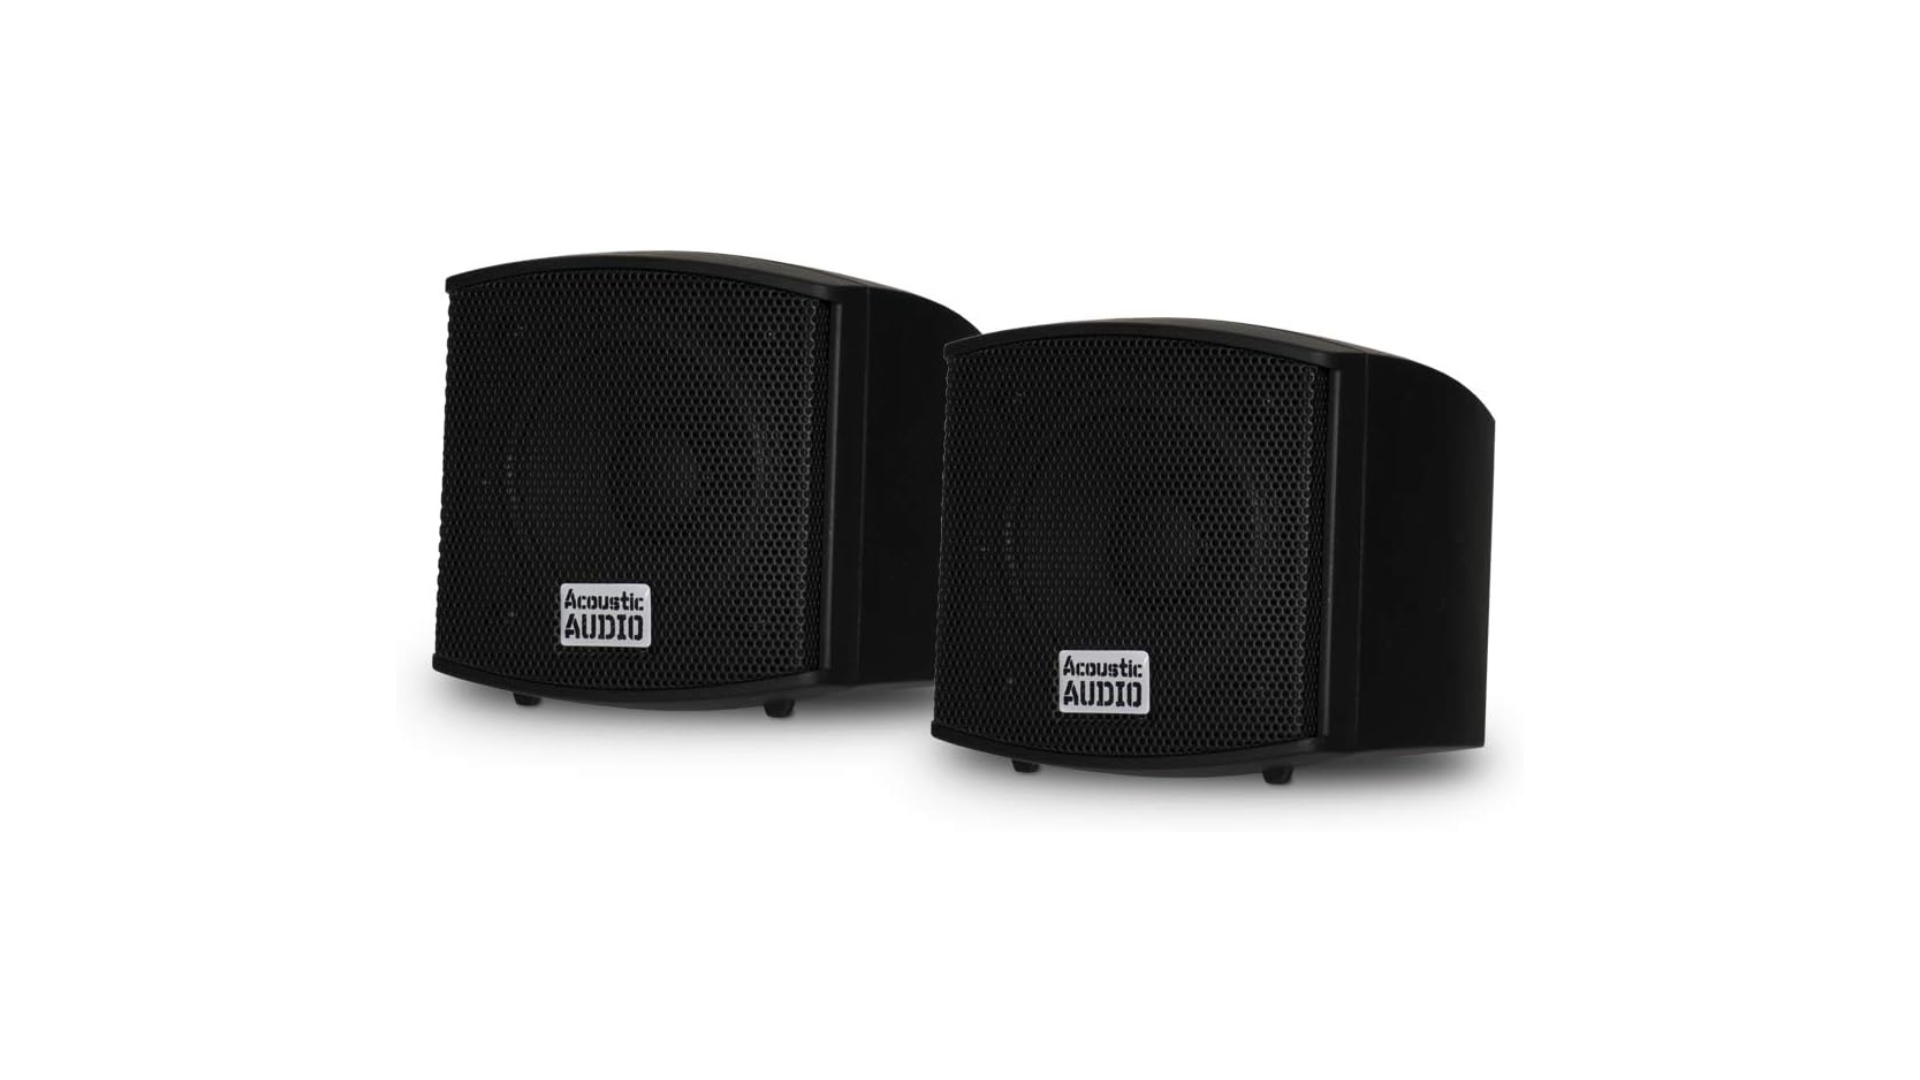
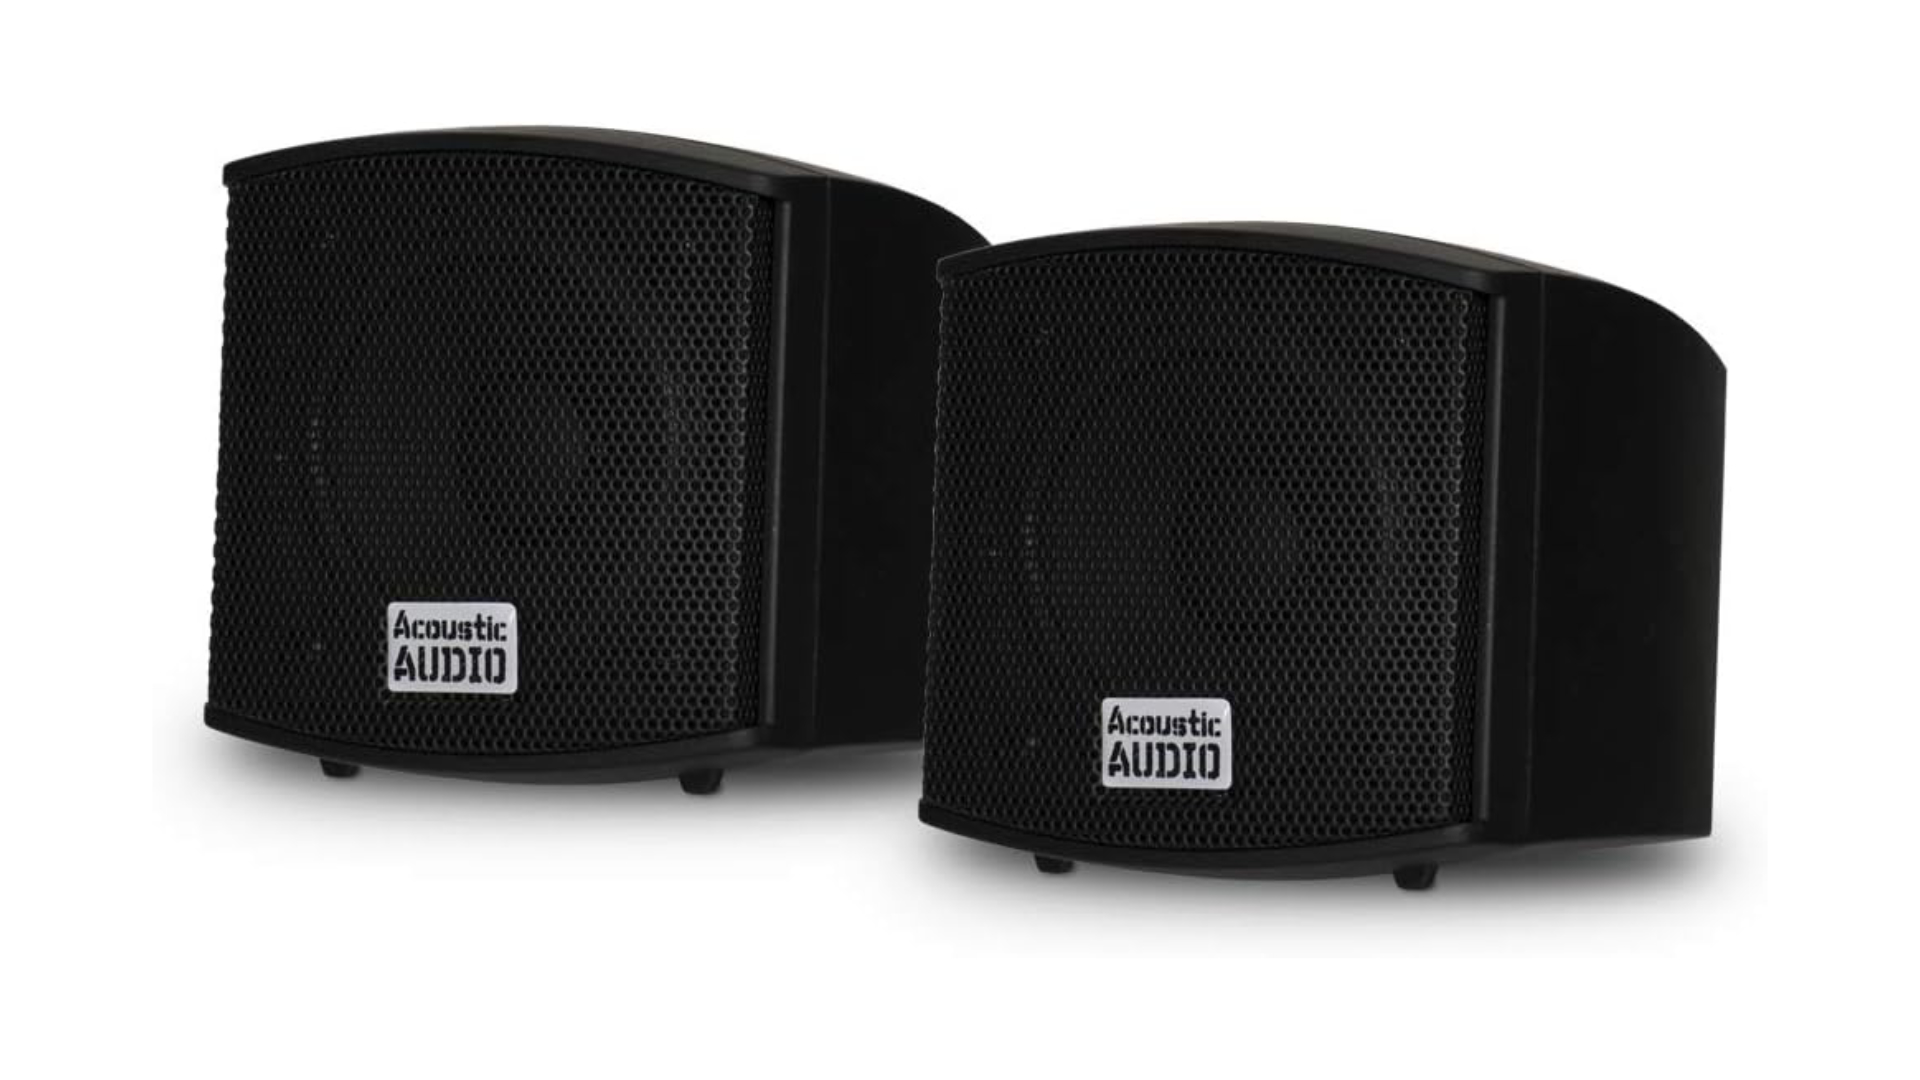
- bookshelf speakers for the front-left, front-right, and rear channels
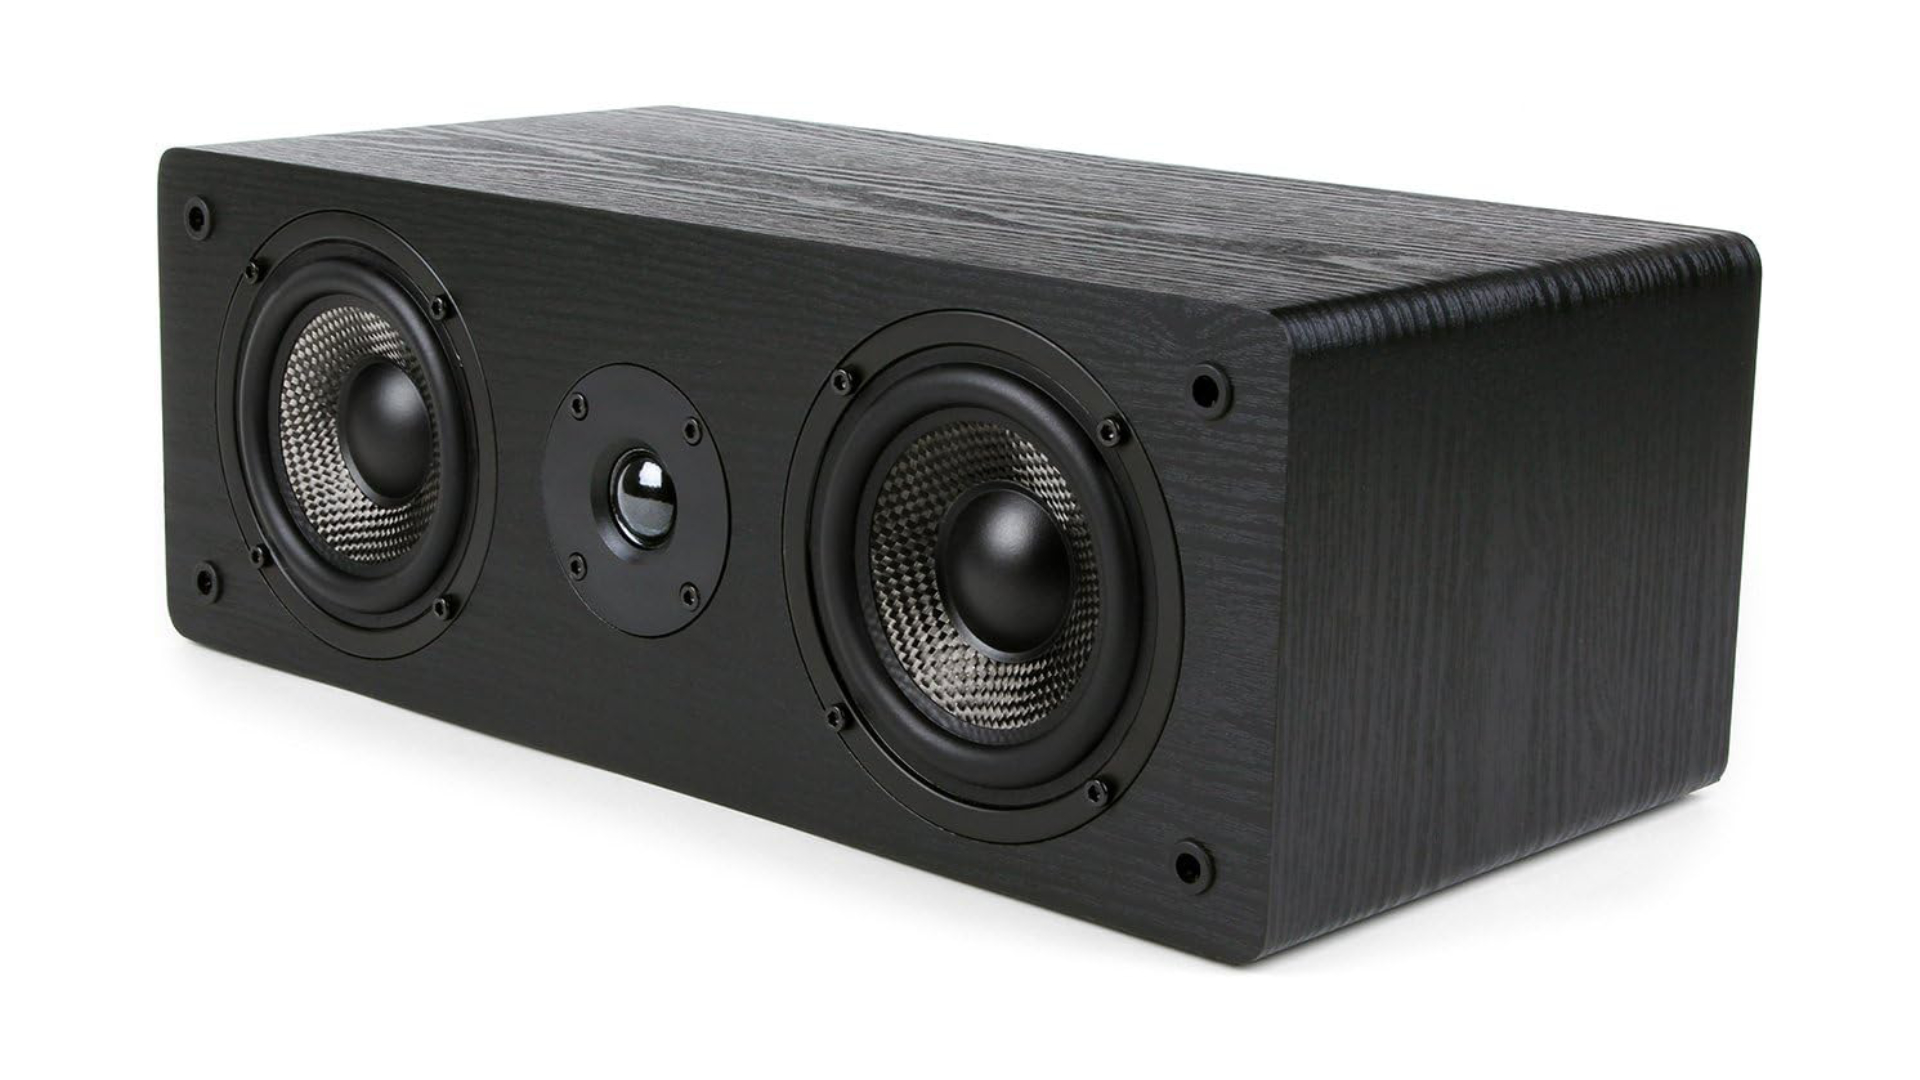
- a dedicated center channel speaker
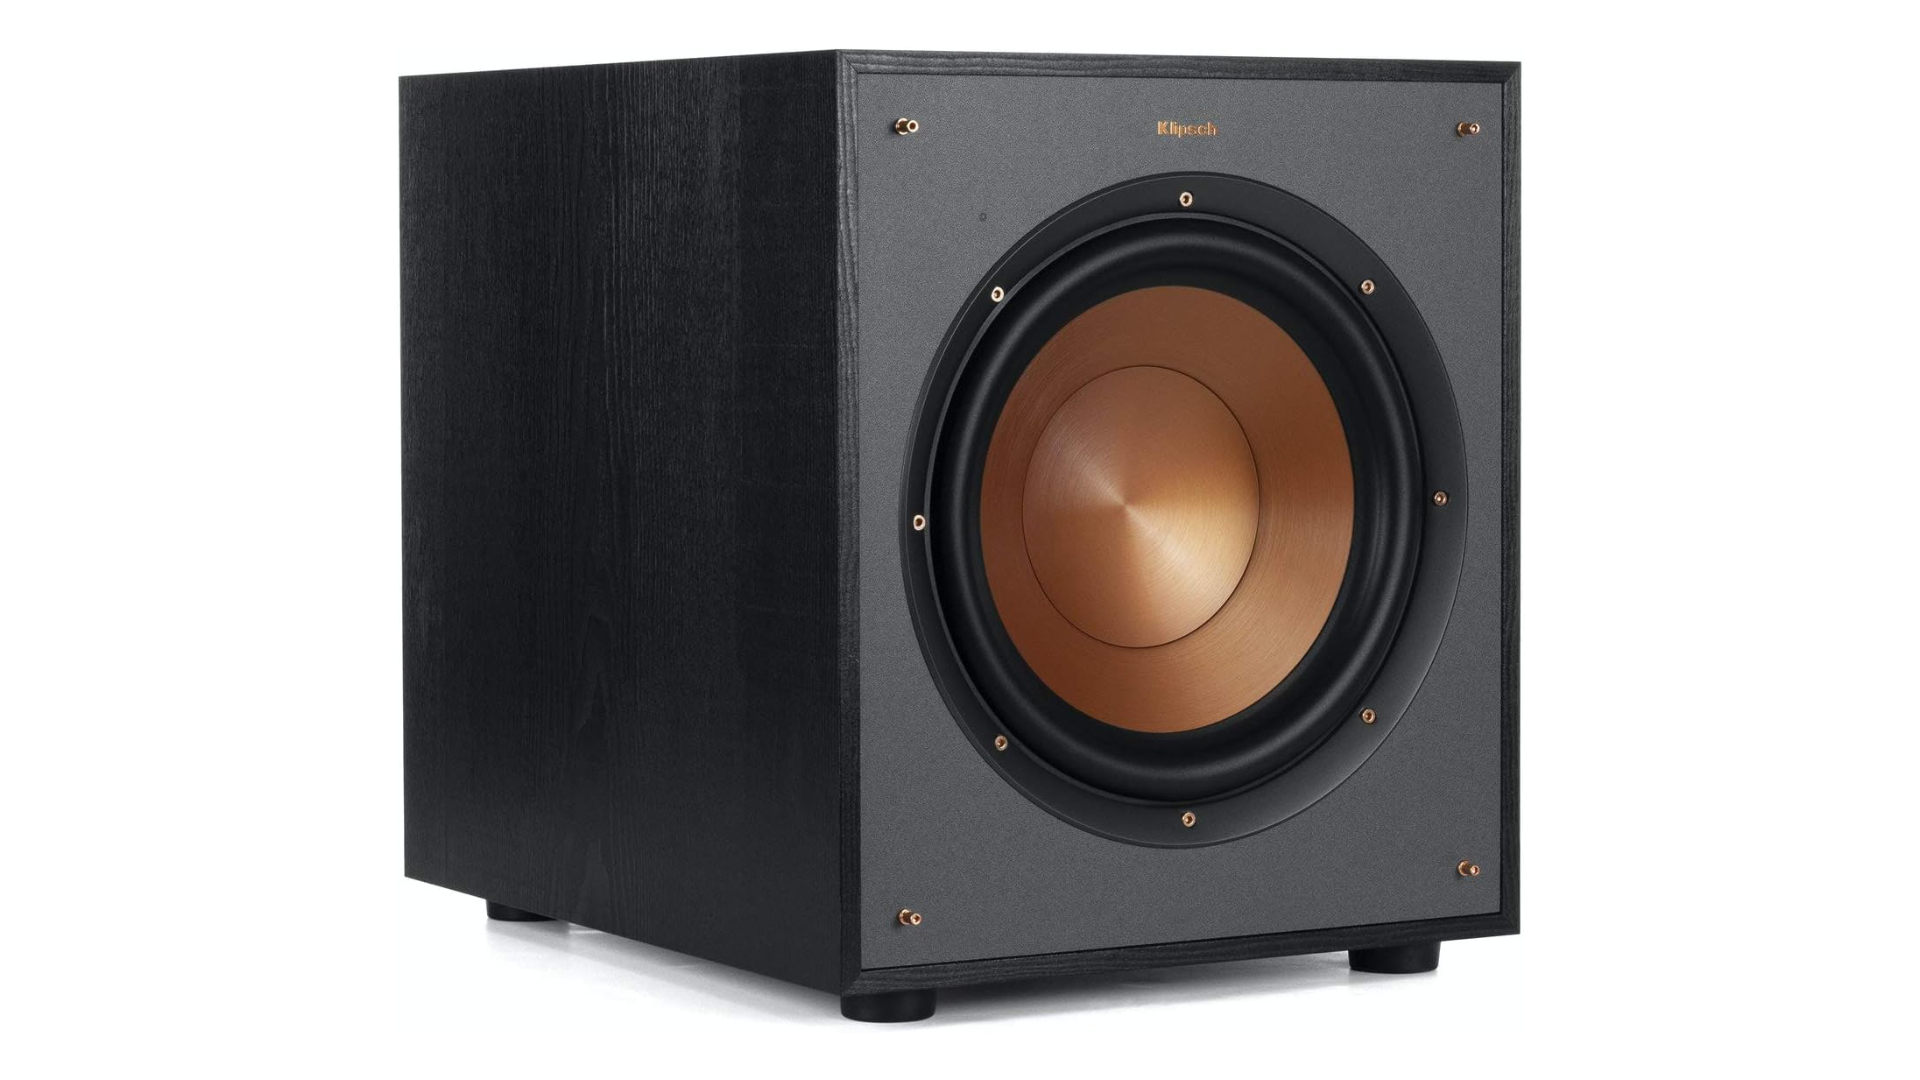
- a subwoofer (optional, but highly recommended)
I would suggest 2 bookshelf speakers for the rear channel. It would help make the surround audio more noticeable and let's you use modern 5.1 surround sound with other devices.
While Pro Logic doesn’t include a dedicated subwoofer channel (it's 4.0, not 4.1), your AVR will still pass it all the low frequencies to give you a richer, fuller sound.
Cables
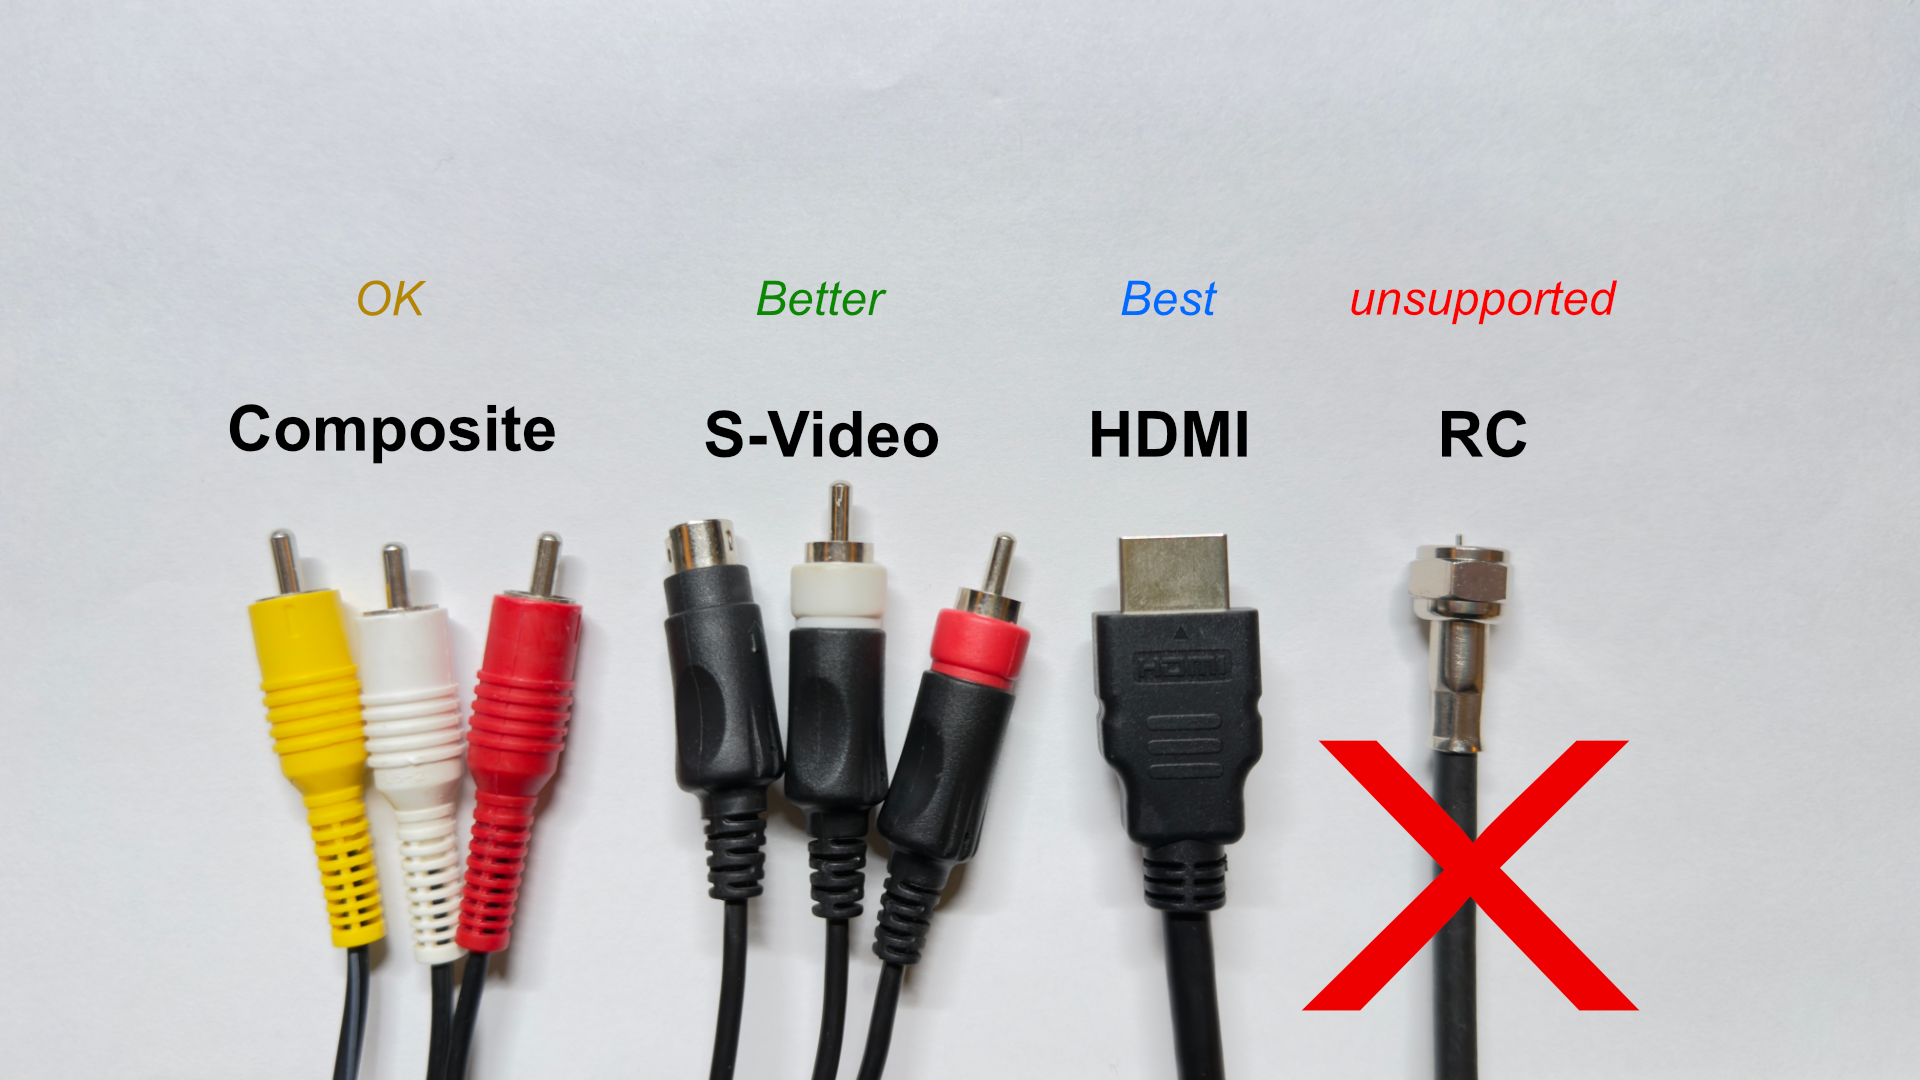
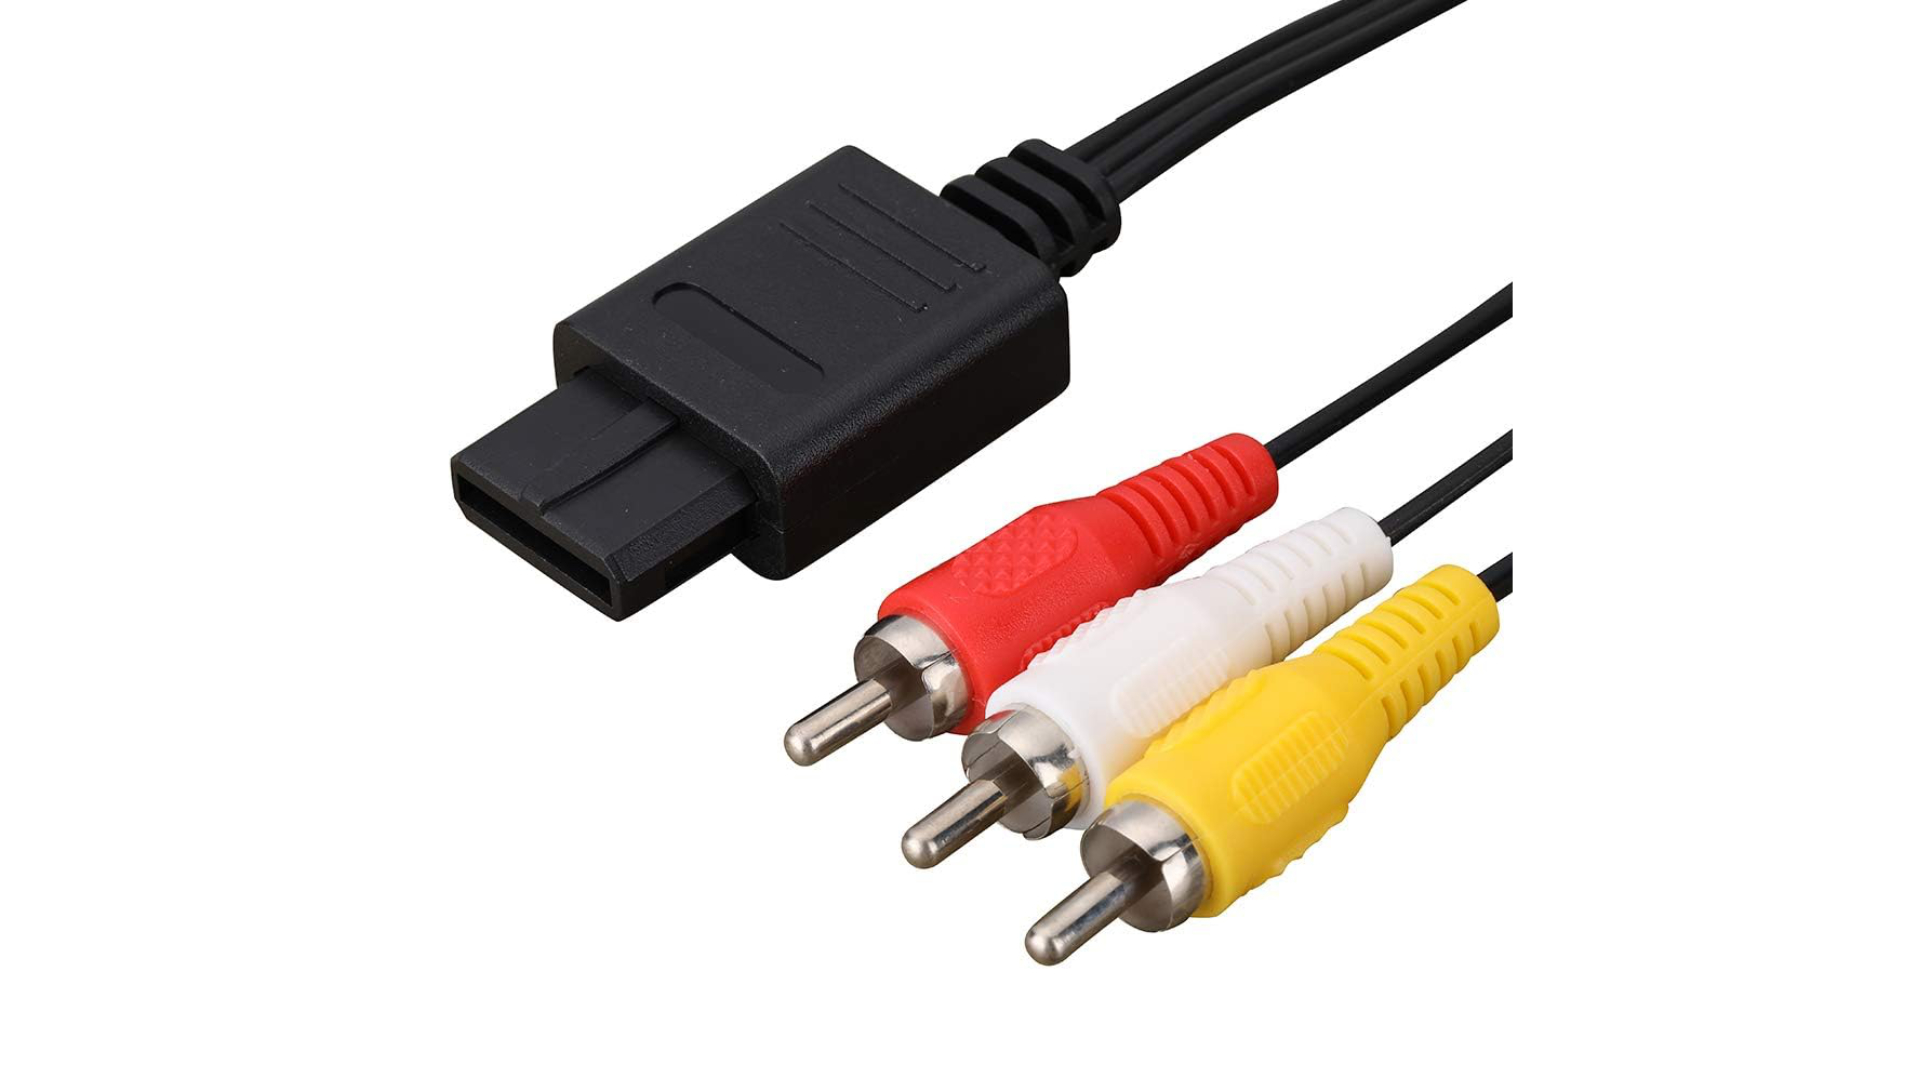
Dolby Pro Logic encodes the 4 audio channels into two — stereo left and right — so you should use an AV cable with stereo support, such as composite or S-Video. Don't use an RF connection, it only supports monaural sound and won't work. While the sound quality is the same, S-Video is better than composite since it outputs a better video signal.
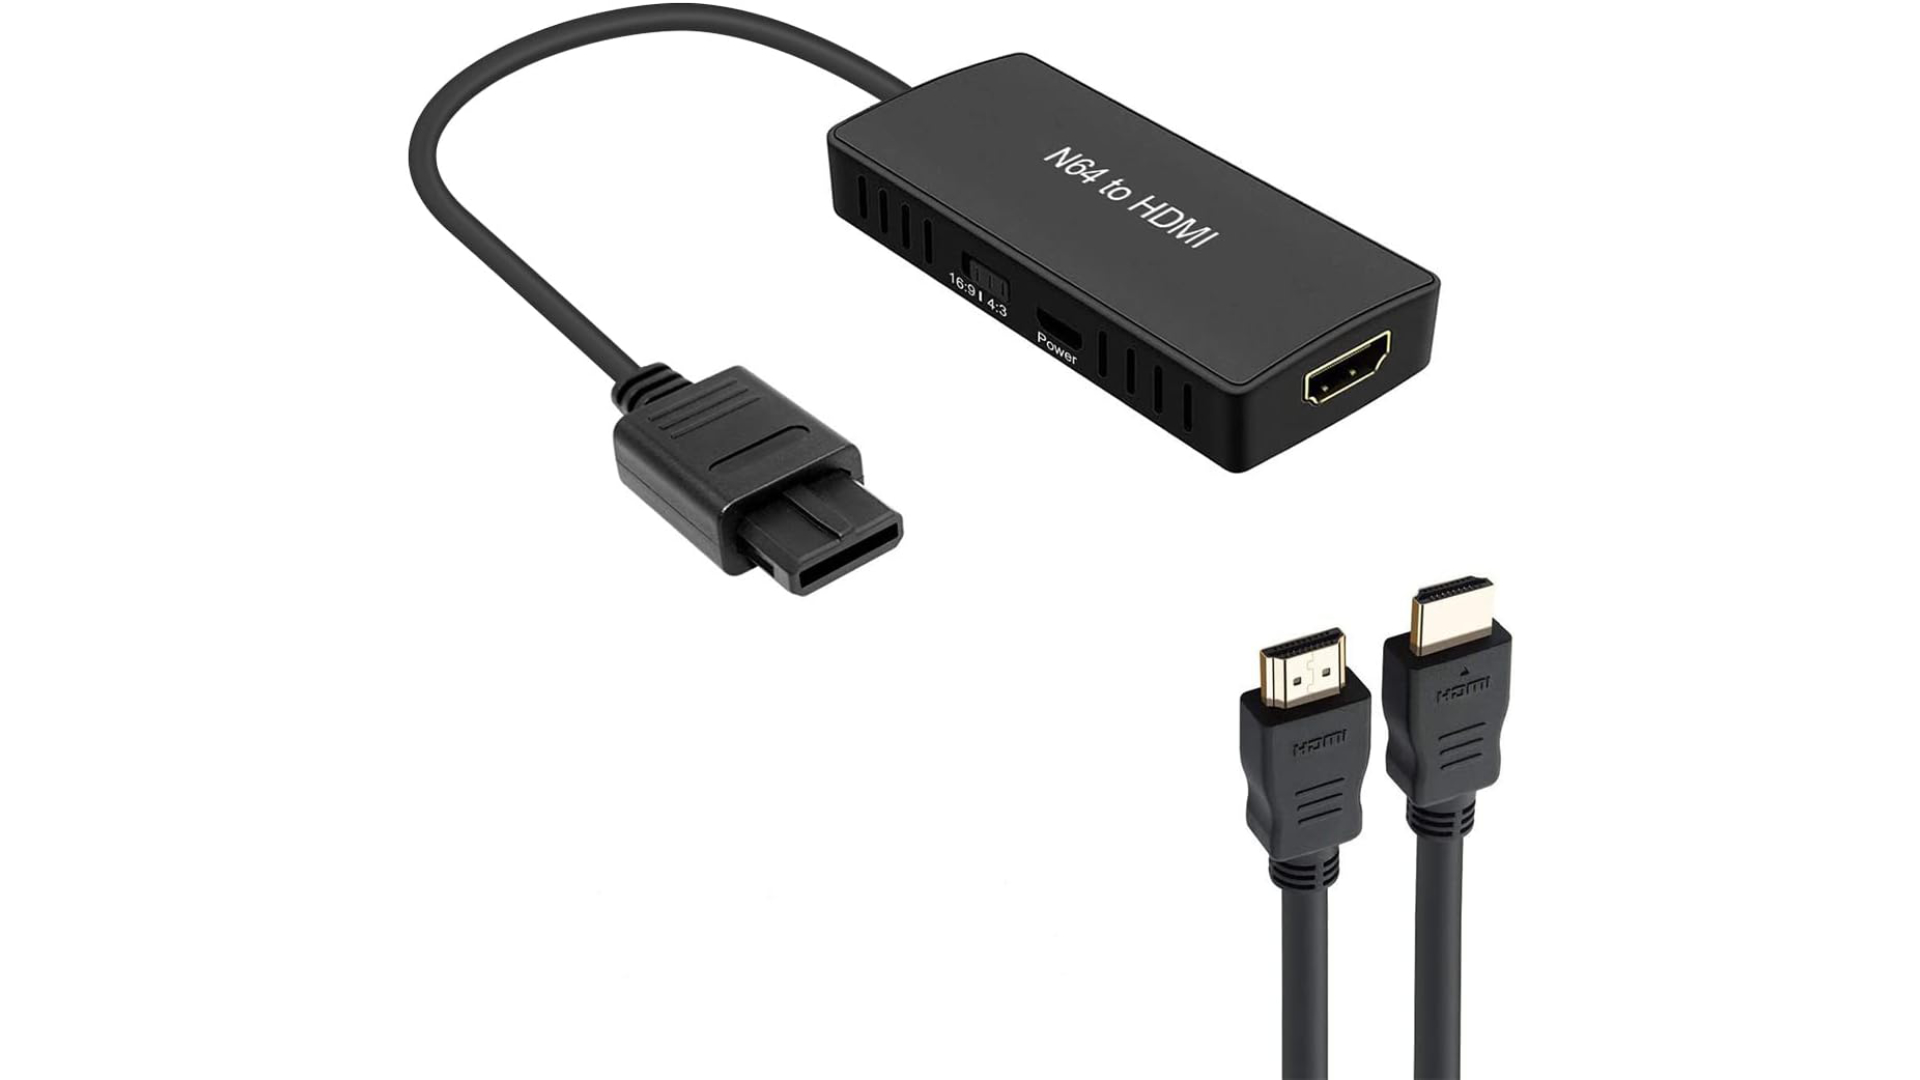
The stereo-encoded audio will still pass through perfectly fine if you would rather upscale to HD with a Nintendo 64 HDMI adapter or are using a mod like the UltraHDMI, in which case, don't forget your HDMI cable.

You will also need:
- speaker wire to connect the speakers
- an RCA cable for the subwoofer, if you are using one

Setup
Connections
Use your speaker wire to connect all of your (non-subwoofer) speakers up to the AVR. For the rear speaker(s), you can run them along the floor (like under a carpet) or run it through the walls, if able.
There are 3 main ways of hooking up the console depending on the type of ports on your TV and AV receiver.
Nintendo 64 to TV
If your TV has an audio out port, you can connect the N64 directly to the TV. Then, connect the TV's audio output to the AVR. You will need a cable that matches your TV's audio out: digital coaxial, optical, RCA, or HDMI (through an HDMI-ARC port).
Nintendo 64 to AVR
If your AV receiver has video in/out, connect the N64 to the AVR. Then send the video out the receiver to the TV by HDMI (or whatever video out you are going with).
Split
If your TV doesn't support audio out and your AVR doesn't support video in/out, you can split a composite or S-Video connection between them: video signal to TV (yellow connector on composite, black connector on S-Video) and audio to the AVR (red/white connectors).
Configuring equipment
Once everything is hooked up, make sure your receiver and TV are set to the correct inputs and outputs, and enable Pro Logic on your AVR. It may be labeled as either Dolby Surround, Dolby Pro Logic, or most likely Dolby Pro Logic II, which is a newer format that is fully backward compatible with the original.
If you are routing audio from the TV to the AVR, you may need to adjust some TV settings, either switching the audio output or disabling the built-in TV speakers.
Configuring games
The Nintendo 64 doesn't have a universal setting for surround sound, so you have to enable it for each game individually. This is done usually somewhere in the game’s audio settings with an option between mono, stereo, and surround sound. Some games have it on by default.
To help with this, here is how to enable it for each game:
| Game | Screenshot | Instructions |
|---|---|---|
| Banjo-Tooie | 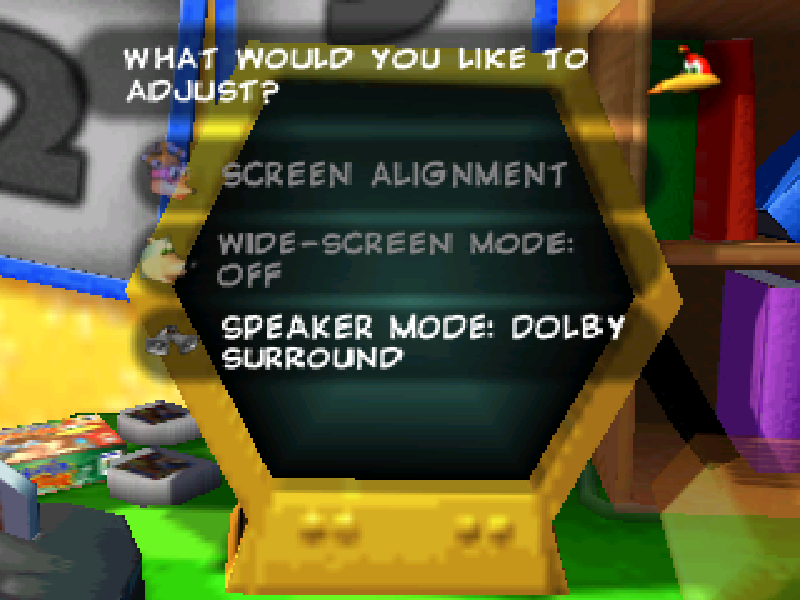 |
On the main menu, select "Settings" (the TV set). Set the speaker mode to "Dolby Surround". |
| Conker's Bad Fur Day | 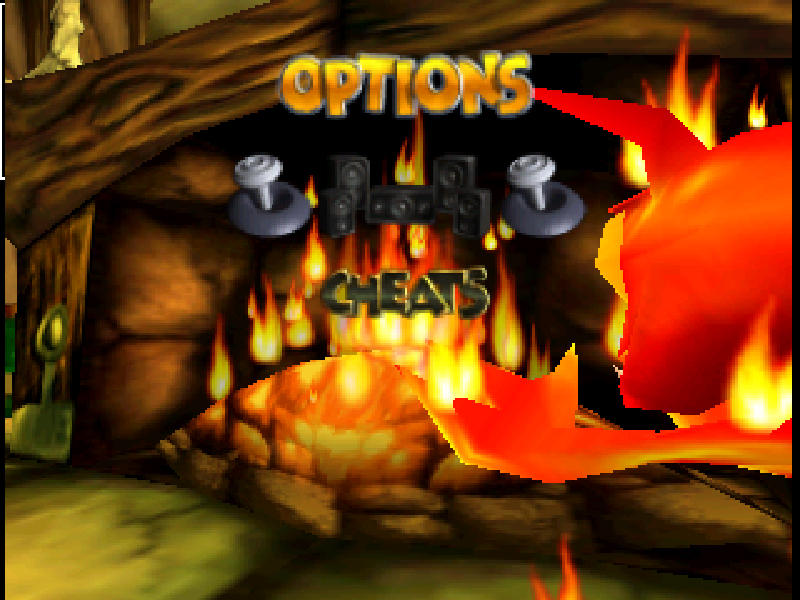 |
On the main menu, go to "Options" (the fireplace). Use the stick to set the speakers to the 5 speakers. You will hear a heavenly choir sing with the harp to know it was set correctly. |
| Donkey Kong 64 | 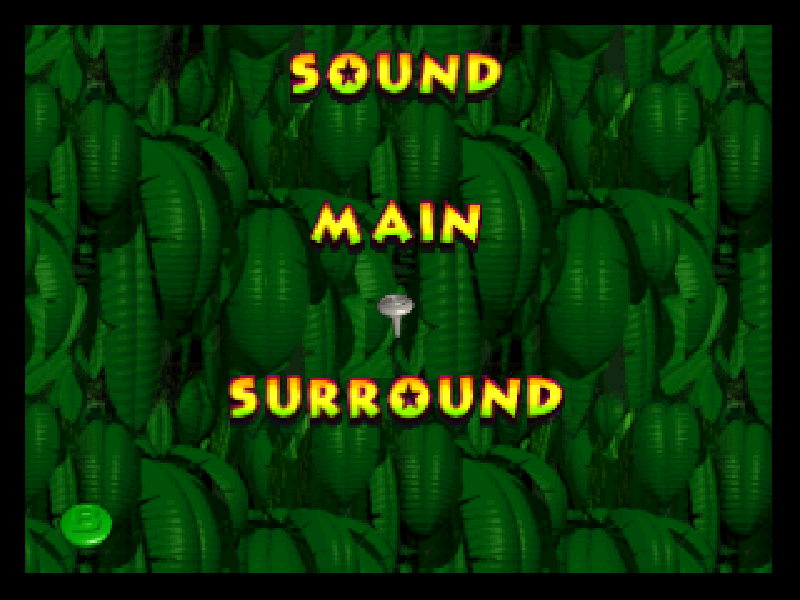 |
On the main menu, select "Sound" (the blue headphones). On the "Main" option, set it to "Surround" (up/down with stick). |
| FIFA: Road to World Cup 98 | - | No in-game setting; surround is enabled by default. |
| Jet Force Gemini | 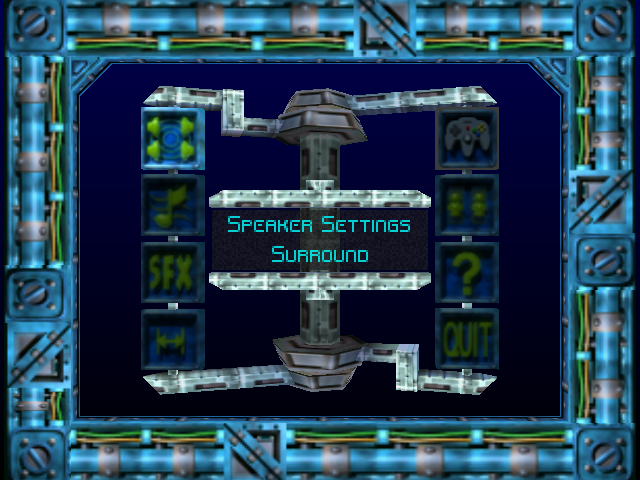 |
On the main menu, go to options. Select "speaker settings", and set it to "Surround". |
| Ken Griffey Jr.’s Slugfest | - | No in-game setting; surround is enabled by default. |
| The Legend of Zelda: Majora's Mask | 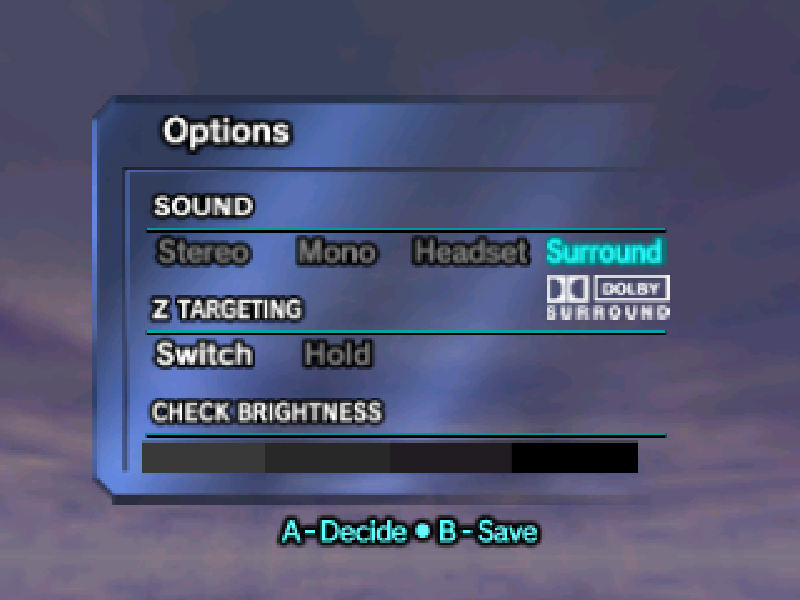 |
On the main menu, select "Options". Set the sound option to "Surround". Be sure to select it with A then save with B, otherwise it won't keep the setting. |
| The Legend of Zelda: Ocarina of Time | 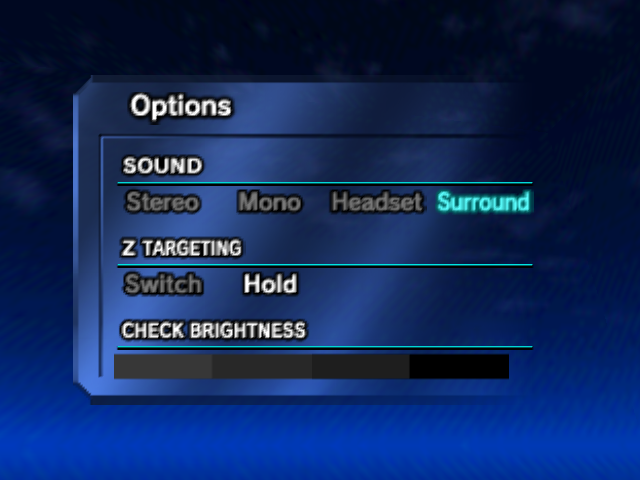 |
On the main menu, select "Options". Set the sound option to "Surround". |
| Mickey’s Speedway USA | 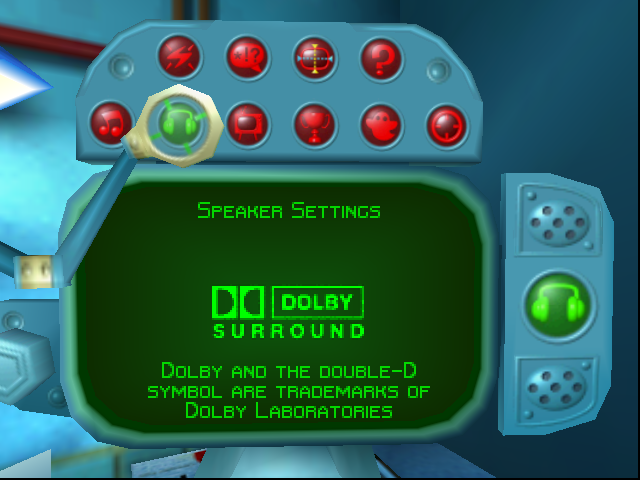 |
On the main menu, select Options (light bulb block). Select "Speaker Settings" and set it to "Dolby Surround". |
| NHL 99 | - | No in-game setting; surround is enabled by default. |
| Perfect Dark | 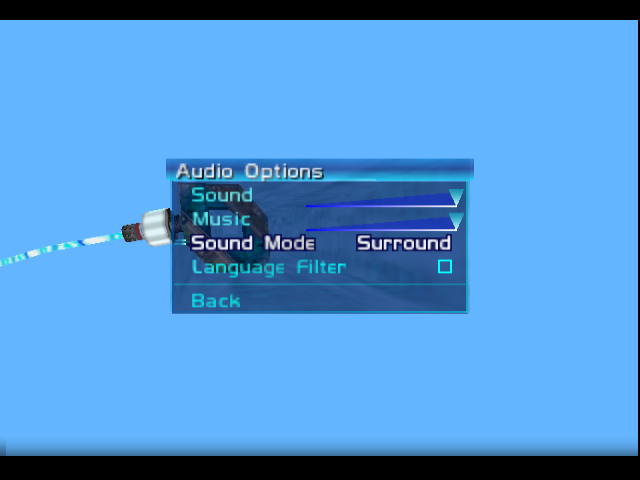 |
After selecting your Agent, bring up the pause screen. Go to "Options", then "Audio", and set the sound mode to "Surround". |
| Pokemon Stadium 2 | 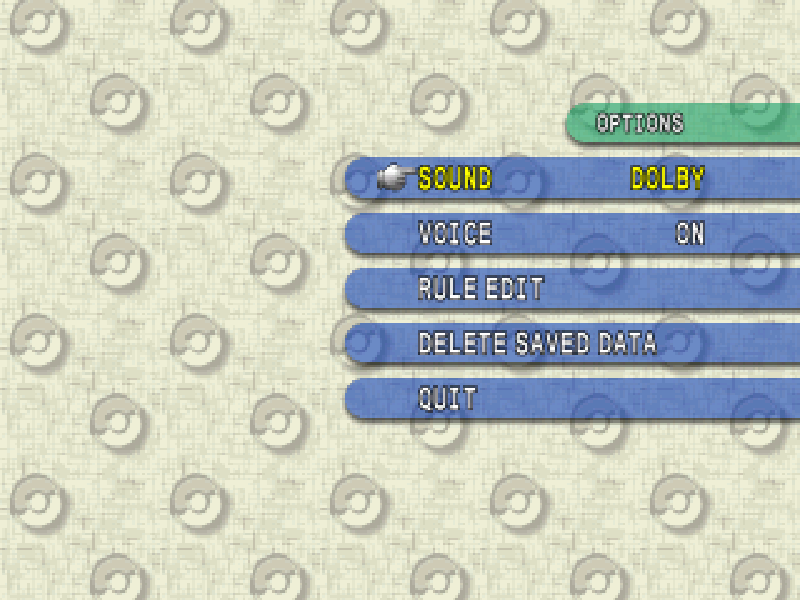 |
On the main menu, go to Options. On "Sound", use A to cycle through the options and set it to "Dolby". |
| Premier Manager Ninety Nine | - | No in-game setting; surround is enabled by default. |
| Resident Evil 2 | 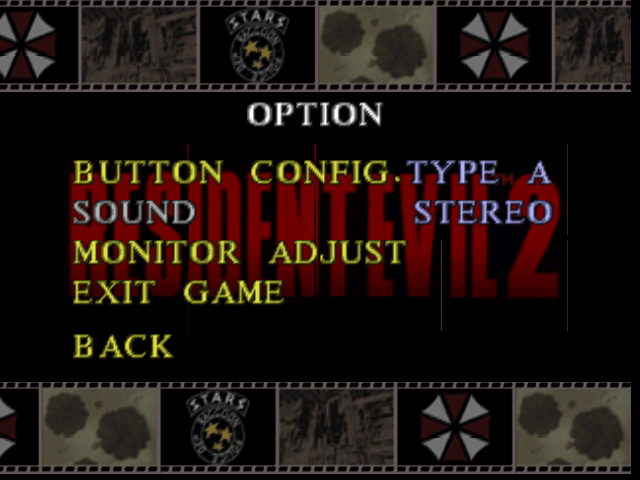 |
On the main menu, go to "Option". Then select "Sound" and set it to "Stereo" (Despite the name, this is the option for both stereo and dolby surround). |
| WCW Backstage Assault | - | No in-game setting; surround is enabled by default. |
| World Cup 98 | - | No in-game setting; surround is enabled by default. |
Play the game!
The hard work is over, now it's time to reap the benefits! There are some great ways the developers utilized the rear speakers, such as hearing the water falling around you at the Water Temple in Ocarina of Time, or the crowds cheering behind you in one of the sports games.
Other Nintendo 64 games
For the rest of the unsupported Nintendo 64 library, you can still enjoy surround sound-like audio using your speaker setup. Most AVRs have upmixing modes like Virtual Surround Sound, Matrix, DTS Neural:X, Dolby Surround Upmixer, or Multichannel Stereo. Upmixing utilizes audio analysis and other methods for deciding what speakers are playing what audio. Results may vary, so play around with each to see which sounds best. While its not true surround sound, it will still sound great and breathe new life into these 3D classics.
What's your thoughts on Nintendo 64 surround sound? Is the experience worth it? Were there any more supported games we missed? Let us know in the comments below.
This page contains affiliate links, which means if you click them and make a purchase, we may receive a small percentage of the sale.
Soundtest.FM's founder and webmaster, Nicholas is a web developer with a passion for video game music. He enjoys creating art, learning new things, and listening to Synthwave.
Comments 0
You must be logged in to comment.